All you need to know before travel with us
Birdwatching in Manu: The Ultimate Guide
Nestled in the heart of the Peruvian Amazon, Manu boasts an astounding variety of avian life, with over 1,000 recorded bird species, making it one of the most species-rich protected areas on Earth.
Why Manu is a Birder's Dream
Manu's incredible avian diversity is due to its vast altitudinal range, encompassing Andean cloud forests, montane evergreen forests, and lowland Amazonian rainforests. This gradient creates a multitude of microclimates and habitats, each supporting unique bird communities. From vibrant macaws soaring over oxbow lakes to elusive antpittas skulking in the undergrowth, Manu offers unparalleled birding opportunities for both seasoned enthusiasts and curious beginners.
Essential Gear for Your Manu Birding Adventure.To make the most of your trip, here's a list of essential gear:
Binoculars: A good pair of binoculars (8x42 or 10x42 are recommended) is your most crucial tool for spotting and identifying birds.
Field Guide: A comprehensive field guide to the birds of Peru or Western Amazonia is indispensable. "Birds of Peru" by Thomas S. Schulenberg et al. is highly recommended.
Spotting Scope (Optional but Recommended): For detailed views of distant birds, especially raptors or waterbirds, a spotting scope can be invaluable.
Camera with Zoom Lens: Capture stunning photographs of the diverse birdlife.
Waterproof Backpack: Protect your gear from the elements.
Lightweight, Breathable Clothing: Long-sleeved shirts and pants in neutral colors are best for protection against insects and the sun.
Rain Gear: A lightweight rain jacket or poncho is essential for sudden downpours.
Insect Repellent: Mosquitoes and other biting insects are common.
Headlamp or Flashlight: Useful for early morning birding and navigating in the dark.
Water Bottle: Stay hydrated in the humid conditions.
Sun Protection: Hat, sunglasses, and sunscreen.
Comfortable Hiking Boots: Waterproof and broken-in boots are a must.
Key Birding Zones within Manu
Manu National Park and its surrounding buffer zones offer distinct birding experiences.
Cloud Forest (Cock-of-the-Rock Lodge Area): This area, typically accessed on the way to the lowlands, is famous for species like the Andean Cock-of-the-Rock, quetzals, tanagers, and a variety of hummingbirds.
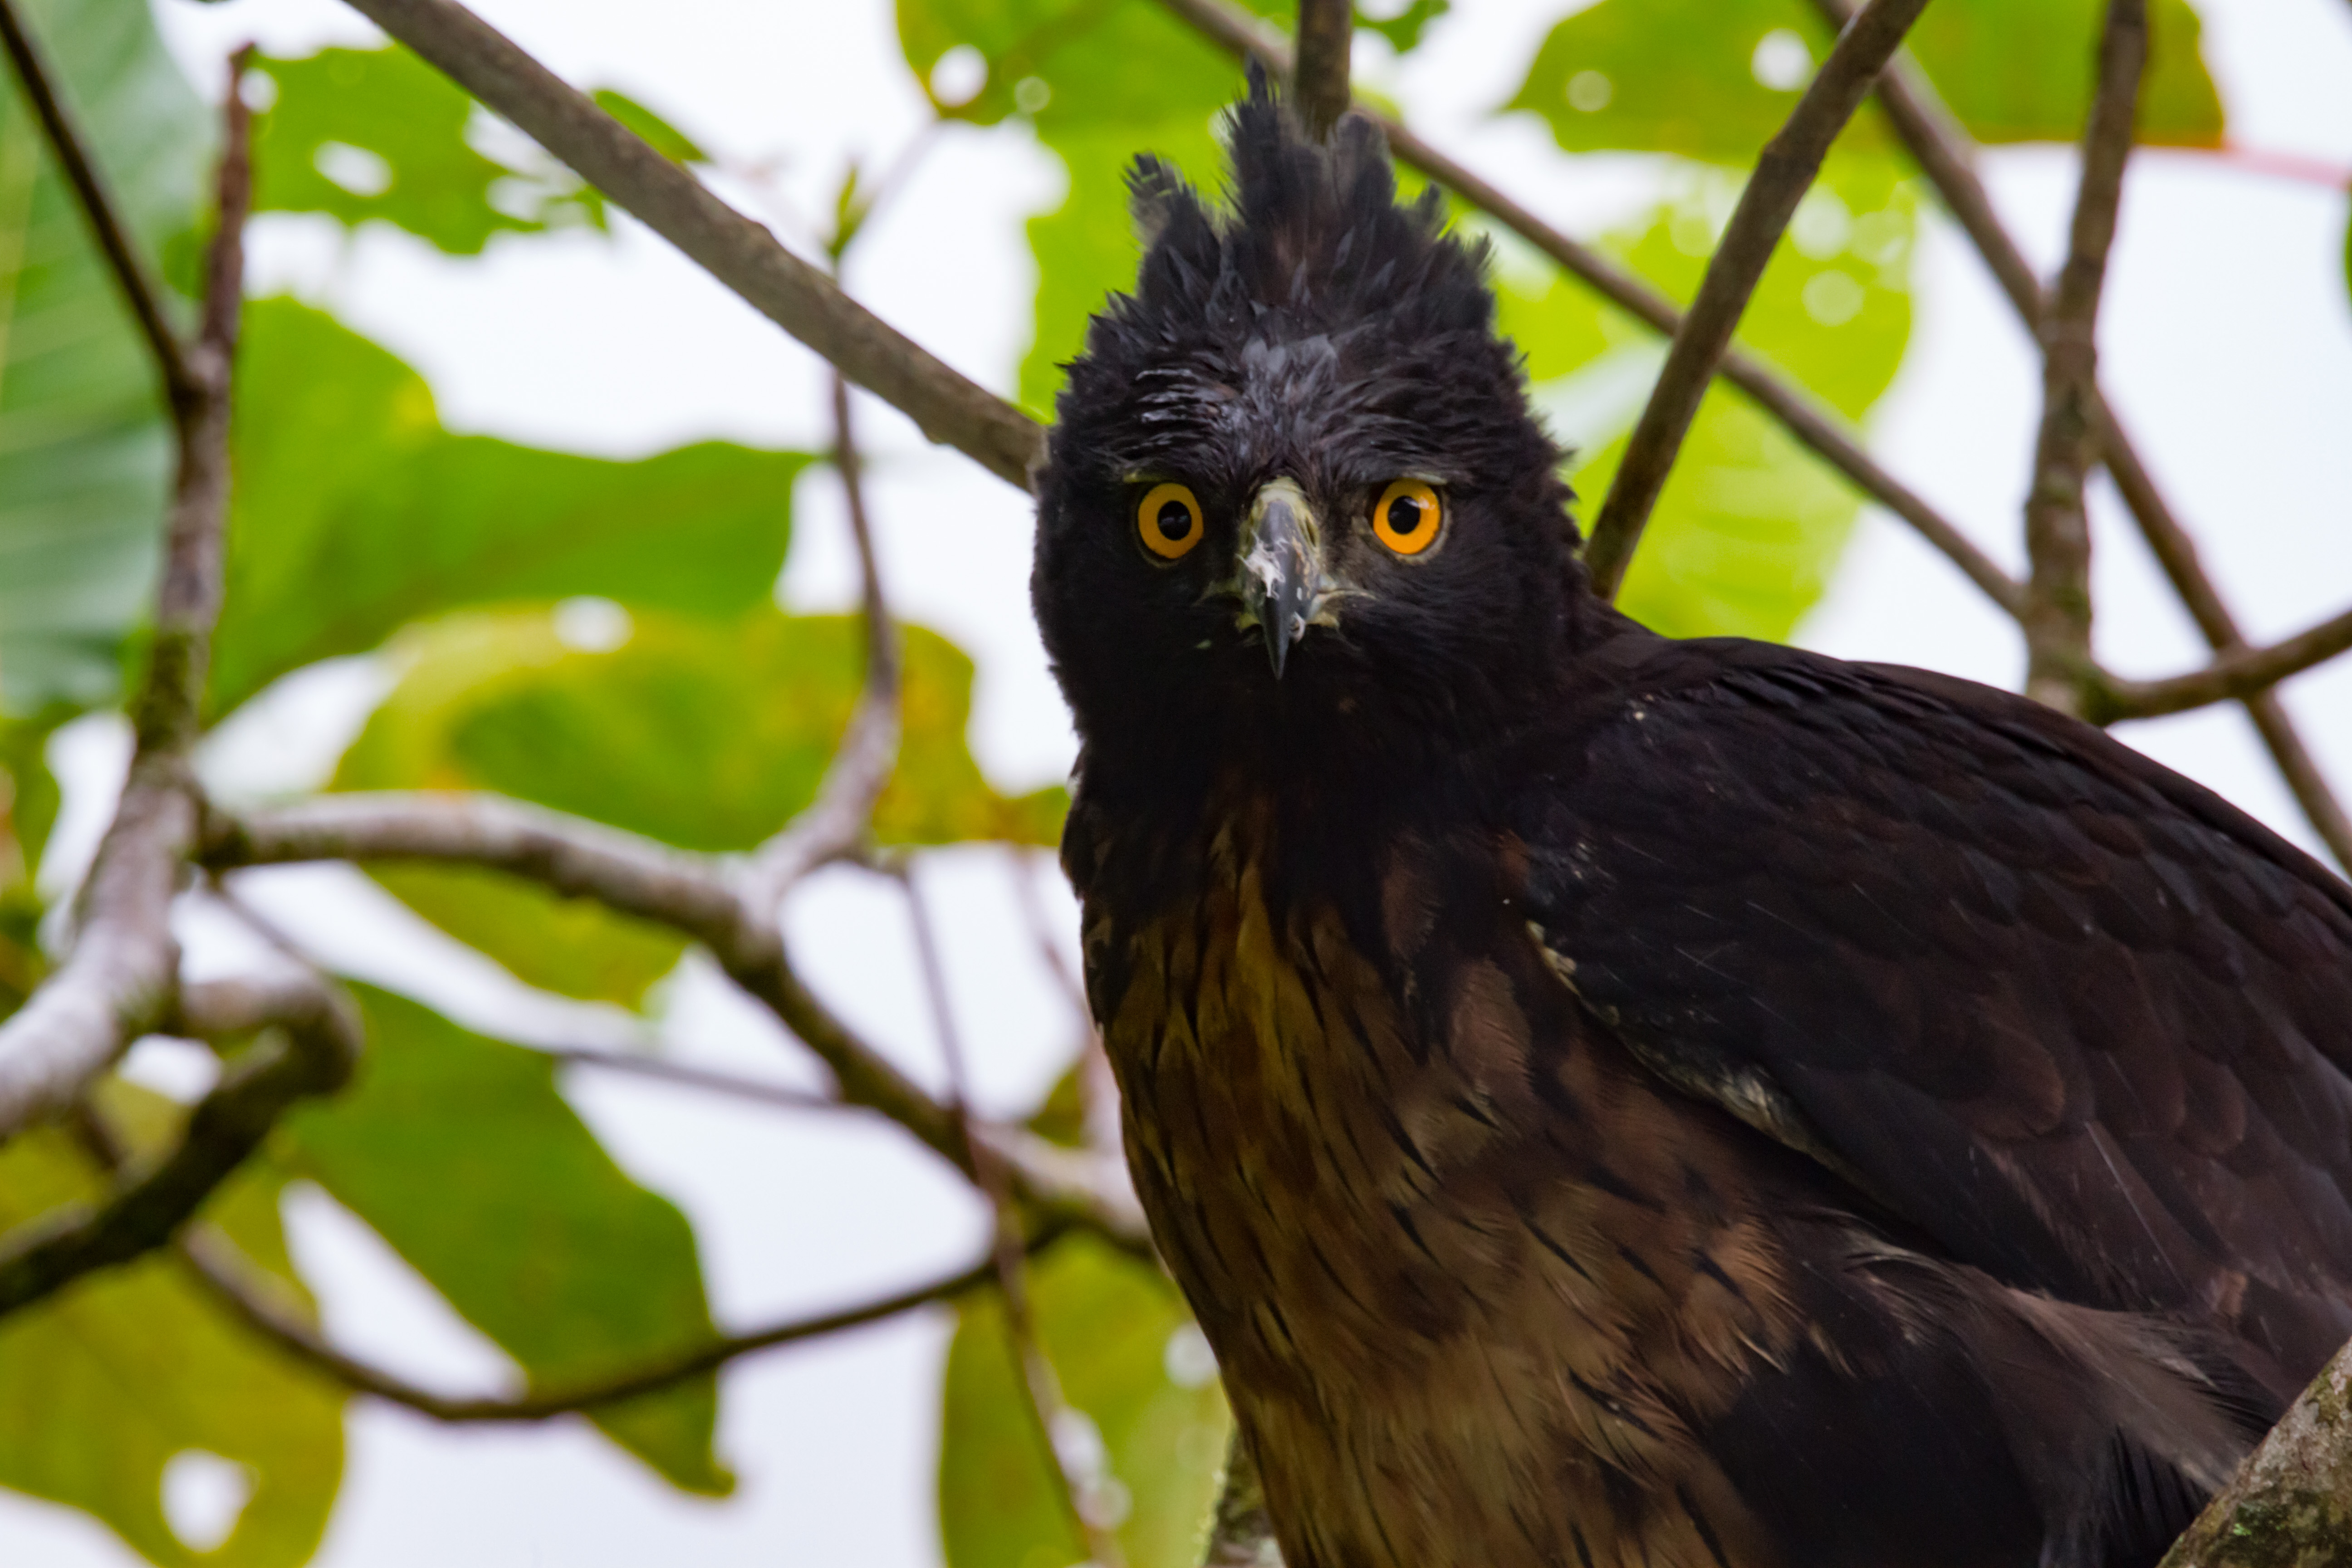
Foothill Forest: Transitional zone between the cloud forest and the lowlands, offering a mix of species from both elevations. Look for ornate hawk-eagles and various cotingas.
Lowland Rainforest (Manu Cultural Zone & Reserved Zone): This is the heart of Manu's birding, with incredible diversity around oxbow lakes, riverine forests, and terra firme forests. Expect to see macaws, parrots, toucans, various antbirds, cotingas, and more. Clay licks are a major highlight here.

Top Birding Hotspots and What You Might See
Mirador Tres Cruces (Cloud Forest): While primarily known for its sunrise views, this area also offers good opportunities for high-altitude cloud forest species.
Cock-of-the-Rock Lodge (Cloud Forest): Home to a well-known lek (display ground) of the Andean Cock-of-the-Rock. Other sightings include Golden-headed Quetzal, Masked Trogon, and a plethora of tanagers.
Manu River Oxbow Lakes (Lowland): Cocha Salvador and Cocha Otorongo are excellent for aquatic birds like Sungrebe, Horned Screamer, various kingfishers, and Hoatzin. Also, look for macaws, toucans, and monkeys in the surrounding forest.
How to Photograph Birds in the Manu Rainforest
Photographing birds in the Manu Rainforest is an incredibly rewarding experience, but it comes with unique challenges due to the dense canopy, low light, and the often elusive nature of the birds. Here's a comprehensive guide to help you capture stunning images of Manu's avian wonders:
1. Essential Gear:
Camera Body: A DSLR or mirrorless camera with good low-light performance (high ISO capabilities) is crucial. Full-frame sensors generally perform better in low light.
Lenses:
Telephoto Lens (400mm or more): This is your primary lens. A 400mm f/5.6, 500mm f/4, or even 600mm f/4 is ideal. Lenses with wider apertures (f/4 or f/2.8) are excellent for low light but are heavier and more expensive.
Teleconverter (1.4x or 2x): Can extend your reach, but remember they reduce your effective aperture and can impact image quality.
Mid-range Zoom (e.g., 70-200mm): Useful for larger birds in closer proximity or environmental shots.
Tripod/Monopod: Absolutely essential for sharp images, especially with long lenses in low light. A sturdy carbon fiber tripod is recommended for portability.
Binoculars: To spot birds before you attempt to photograph them.
Rain Protection: For your camera and yourself. Think rain covers for your gear and a good poncho or waterproof jacket.
Extra Batteries and Memory Cards: You'll be shooting a lot, and charging opportunities might be limited.
Headlamp: For early morning or late evening shoots.
Insect Repellent: A must-have in the rainforest!
Dry Bags: To protect your gear from humidity and sudden downpours.
2. Camera Settings for the Rainforest:
ISO: Be prepared to push your ISO higher than you normally would (800, 1600, 3200, or even higher). Modern cameras handle noise at high ISOs much better.
Shutter Speed: This is critical for freezing bird movement. Aim for at least 1/1000s, ideally faster (1/1600s, 1/2000s). In very low light, you might have to compromise, but be aware of potential motion blur.
Aperture: Shoot wide open (smallest f-number) with your telephoto lens to gather maximum light and create beautiful bokeh, isolating the bird from the busy background.
Metering Mode: Evaluative/Matrix metering usually works well, but be mindful of bright patches of sky or very dark shadows that can trick the meter. Spot metering can be useful for correctly exposing a bird in challenging light.
Focus Mode:
Continuous Autofocus (AI Servo on Canon, AF-C on Nikon/Sony): Essential for tracking moving birds.
Single-point AF or small zone AF: Allows you to precisely place your focus point on the bird's eye.
Back Button Focus: Highly recommended, as it separates autofocus activation from the shutter button, giving you more control.
Drive Mode: High-speed continuous shooting will increase your chances of getting a sharp shot, especially if the bird is active.
3. Techniques for Success:
Patience is Key: Bird photography requires immense patience. Find a good spot, wait, and observe.
Anticipate Movement: Learn bird behavior. Knowing when a bird might take flight, preen, or feed can help you anticipate the shot.
Look for Perches and Feeders: Guides will often know where to find fruit trees or established perches that birds frequent. Clay licks are also fantastic for capturing parrots and macaws.
Utilize Natural Blinds: Use dense foliage to your advantage to hide yourself and get closer without disturbing the birds.
Manual Exposure (Sometimes): In consistently challenging light, setting your exposure manually can be more reliable than relying on the camera's meter.
Burst Shooting: Fire off several shots in a burst. This increases your odds of getting a sharp image, especially with active birds.
Focus on the Eye: Always try to get the bird's eye in sharp focus. This is where viewers connect with the image.
Composition:
Rule of Thirds: Place the bird off-center for a more dynamic composition.
Clean Background: Try to find angles where the background is uncluttered and soft (thanks to wide aperture).
Environmental Shots: Don't just go for tight headshots. Sometimes, showing the bird within its habitat can tell a powerful story.
Work with Your Guide: Your local guide will be invaluable for spotting birds, identifying species, and knowing their typical behaviors and locations. They can also help you approach without causing disturbance.
Early Mornings and Late Afternoons: These are generally the best times for bird activity and softer, more flattering light, though it can still be challenging in the dense rainforest.
4. Post-Processing:
Noise Reduction: You'll likely have some noise from high ISOs. Software like Adobe Lightroom, Topaz Denoise AI, or DxO PhotoLab can significantly clean up your images.
Sharpening: Apply sharpening to bring out details, especially on feathers.
Crop Judiciously: While a good crop can improve composition, avoid over-cropping, as it can reveal image imperfections and reduce quality.
Adjust Exposure and Contrast: Fine-tune these to make your bird pop.
White Balance: Correct any color casts from the dense green canopy.
5. Ethical Considerations:
Do Not Disturb: Never chase, bait (unless it's an approved, ethical feeding station/blind), or harass birds for a photo. Your presence should have minimal impact.
Stay on Trails: Protect the delicate rainforest ecosystem.
Respect Local Customs: Follow your guide's instructions and be mindful of local communities.
Photographing birds in Manu is a truly immersive experience. Be prepared for the challenges, but with the right gear, settings, and a lot of patience, you'll come away with unforgettable images of some of the world's most spectacular avian life.